
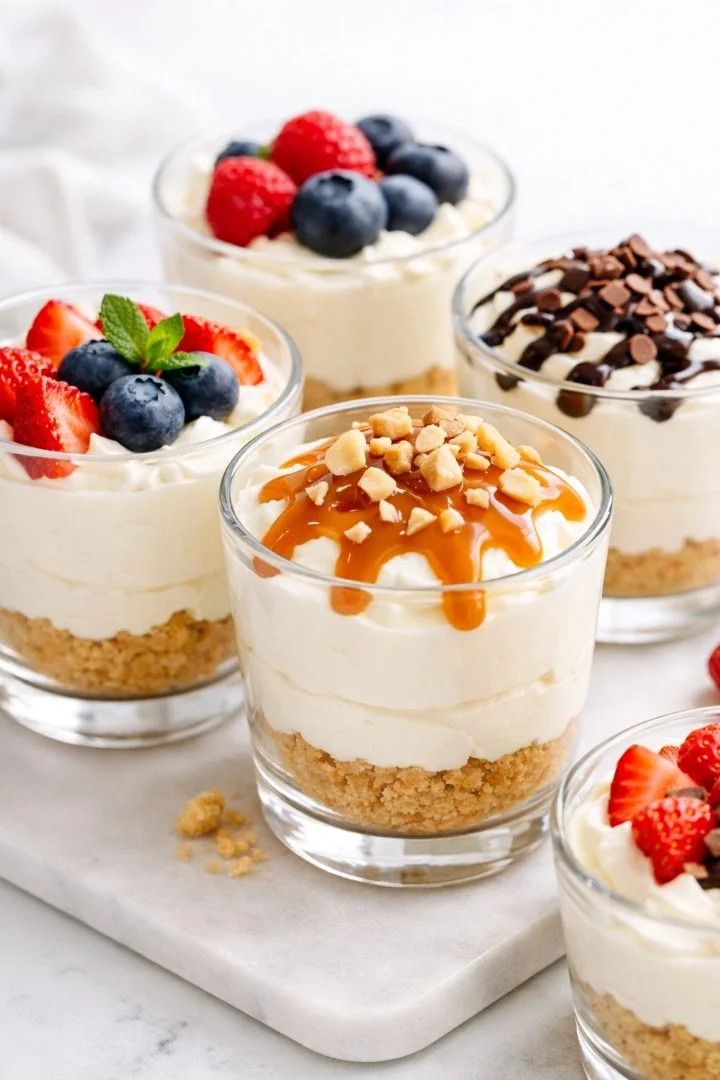
Recipe Overview
| Detail | Information |
|---|---|
| Recipe Name | No Bake Cheesecake Cups |
| Prep Time | 15 minutes |
| Chill Time | 2–4 hours |
| Total Time | ~2 hours 15 minutes |
| Servings | 4–6 cups |
| Difficulty | Easy |
| Calories (approx) | 280–350 per serving |
Introduction
If you’re craving something sweet, creamy, and effortless, these no bake cheesecake cups are exactly what you need. Made with a buttery biscuit base and a smooth, rich cream cheese filling, this dessert is perfect for hot days, quick treats, or last-minute guests. No oven, no stress—just pure creamy goodness in every spoonful.
Why You’ll Love This Recipe
- No baking required – perfect for beginners
- Quick and easy with minimal effort
- Uses simple, everyday ingredients
- Perfect for parties, gatherings, or meal prep
- Easily customizable with toppings
Recipe Background / Story
No-bake desserts have become incredibly popular because they save time and still deliver amazing flavor. Cheesecake cups, in particular, are a modern twist on classic cheesecake—served in individual portions for convenience and style. The combination of crunchy biscuit crumbs and creamy filling creates a perfect balance of texture and taste.
 Ingredients
For the Base
- 1½ cups crushed biscuits (digestive or graham crackers)
- 5 tbsp melted butter
For the Cheesecake Filling
- 1 cup cream cheese (softened)
- ½ cup heavy whipping cream
- ⅓ cup powdered sugar
- 1 tsp vanilla extract
Optional Toppings
- Fresh fruits (strawberries, blueberries)
- Chocolate sauce
- Caramel drizzle
- Crushed nuts
➤ Ingredient Notes: ○ Use full-fat cream cheese for a richer texture
○ You can swap biscuits with Oreo crumbs for a chocolate base
○ Adjust sugar based on your sweetness preference
Kitchen Tools Needed (But Optional)
- Mixing bowl: used to combine ingredients smoothly without spilling
- Electric hand mixer or whisk: helps whip the cream and blend the filling until fluffy
- Spoon or spatula: used for folding and layering ingredients
- Measuring cups & spoons: ensures accurate ingredient quantities
- Serving cups or jars: used to assemble and present individual cheesecake portions
Step-by-Step Instructions
- Prepare the biscuit base
Crush the biscuits into fine crumbs using a blender or by placing them in a sealed bag and crushing with a rolling pin. - Mix with butter
Add melted butter to the crumbs and mix until the texture resembles wet sand. - Form the base layer
Spoon the mixture into serving cups and press it down firmly using the back of a spoon.
➤ This creates a solid foundation for your cheesecake. - Make the cheesecake filling
In a bowl, beat the cream cheese until smooth and creamy (no lumps). - Add sugar and vanilla
Mix in powdered sugar and vanilla extract until fully combined. - Whip the cream
In a separate bowl, whip the heavy cream until soft peaks form.
➤ This step adds lightness and volume. - Combine mixtures
Gently fold the whipped cream into the cream cheese mixture.
○ Do not overmix to keep it airy. - Assemble the cups
Spoon or pipe the cheesecake filling over the biscuit base evenly. - Add toppings
Top with fruits, chocolate, or caramel as desired. - Chill the cups
Refrigerate for at least 2–4 hours until firm and set.
Pro Tips for Best Results
- Always use softened cream cheese to avoid lumps
- Chill long enough for the perfect firm texture
- Use a piping bag for cleaner, prettier layers
- Don’t skip whipping the cream—it makes the dessert light and fluffy
Variations & Substitutions
- Chocolate version: Add melted chocolate to the filling
- Low-sugar option: Use a sugar substitute
- Fruit swirl: Mix fruit puree into the filling
- Dairy-free: Use plant-based cream cheese and coconut cream
What to Serve With This Recipe
- Fresh fruit salad
- Coffee or iced latte
- Lemonade or smoothies
- Light biscuits or cookies
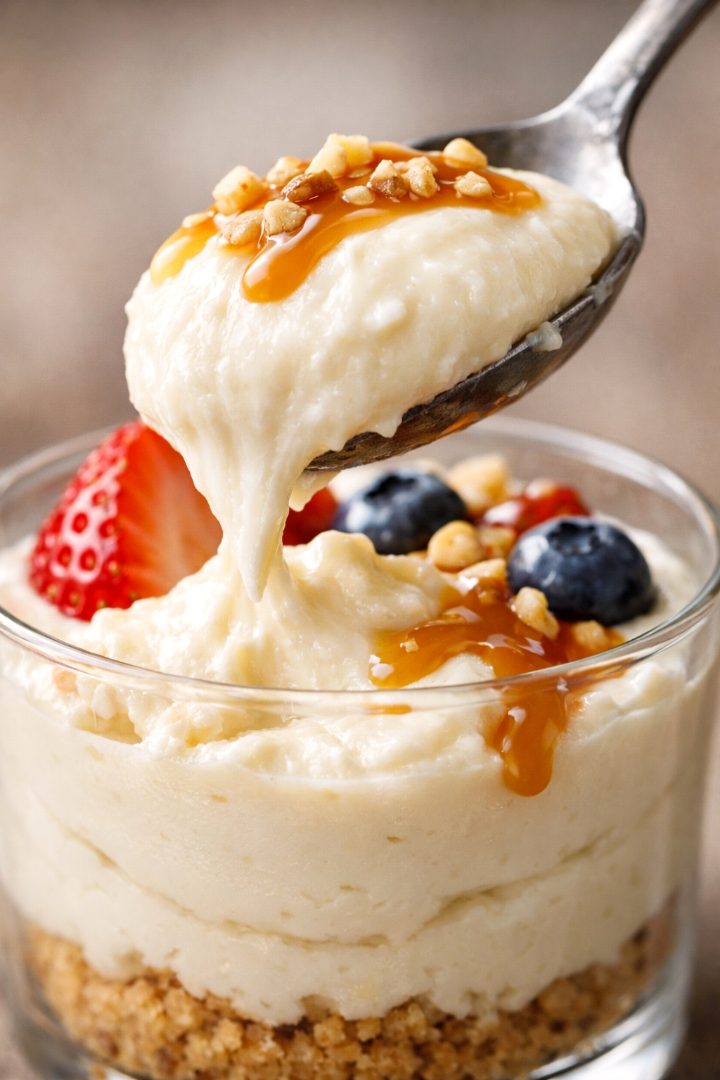 Storage & Reheating Instructions
- Refrigeration: Store in the fridge for up to 3–4 days
- Freezing: Can be frozen for up to 1 month (texture may slightly change)
- Reheating: Not required—serve chilled for best taste
Nutrition Benefits / Advantages
- Contains calcium from cream cheese
- Provides energy from healthy fats
- Can be adjusted to low-carb or keto-friendly
- Portion-controlled servings help manage intake
Also try:
- Healthy Chocolate Avocado Brownies – Fudgy, Moist & Naturally Sweetened
- Quick No Bake Cheesecake Recipe (Creamy, Easy & No Oven Needed)
- Soft Marbled Sponge Cake (Light, Fluffy & Bakery-Style)
Frequently Asked Questions (FAQ)
1. Can I make these cheesecake cups ahead of time?
Yes! They are perfect for making a day in advance.
2. Why is my cheesecake filling runny?
➤ You may not have whipped the cream enough
➤ Or the mixture wasn’t chilled long enough
3. Can I use whipped topping instead of cream?
Yes, but fresh whipped cream gives better flavor and texture.
4. What’s the best biscuit to use?
Digestive biscuits or graham crackers work best for a classic taste.
5. Can I make this without sugar?
Yes, you can use natural sweeteners or sugar alternatives.
Recipe Card (Summary)
| Section | Details |
|---|---|
| Recipe | No Bake Cheesecake Cups |
| Prep Time | 15 minutes |
| Chill Time | 2–4 hours |
| Servings | 4–6 |
Ingredients
| Ingredient | Quantity |
|---|---|
| Crushed biscuits | 1½ cups |
| Melted butter | 5 tbsp |
| Cream cheese | 1 cup |
| Heavy cream | ½ cup |
| Powdered sugar | ⅓ cup |
| Vanilla extract | 1 tsp |
Instructions
| Step | Action |
|---|---|
| 1 | Mix biscuit crumbs with butter |
| 2 | Press into cups |
| 3 | Beat cream cheese |
| 4 | Add sugar and vanilla |
| 5 | Whip cream separately |
| 6 | Fold together |
| 7 | Layer into cups |
| 8 | Add toppings |
| 9 | Chill before serving |
Call-to-Action (CTA)
Did you try these no bake cheesecake cups?
Leave a comment below and share your favorite topping!